Showing posts with label sewing. Show all posts

Tuesday, October 25, 2011

Addie's quilt...just wanted to add

Thanks for all of your comments on here & facebook about Addie's quilt :)

I was going through my pics to do a post on the quilting retreat last weekend and I realized that I had wanted to show a before and after pic of the quilt.

As I said the last post, there's no binding to this quilt. It's all raw edges. Those white pieces are stitched right on top of the blocks. It looks something like this:
This was midway through sewing on all 144 of those white pieces. Whew! 

And then when you wash it it comes out like this:
Pretty neat, huh?!


Now, no more pictures mommy!
I'll have pics of the quilting retreat tomorrow (or maybe later tonight)!
Photobucket

Monday, October 24, 2011

Addie's quilt

After 4 1/2 months I still can't get over all that hair!

My #1 priority at the quilt retreat last weekend was to make Addie's baby quilt. 
I searched around until I found a pattern I liked...and one that would be easy enough for a beginner quilter like me. When I stumbled on this one I knew this was it!
I'm so happy with the outcome! It makes me smile just looking at it.
Isn't that fabric just yummy??? The fabric on the front is Ruby by Bonnie and Camille (Moda) that I picked up at the quilt show a couple weeks ago and the back is TaDot (Michael Miller) in celery. 
I {love} the Ruby line...it's so 'me'. I'm thinking I need to pick up some yardage in that fabric once my budget allows :)
Oh my word...I could just eat her up!

I love that this pattern has all raw edges. No binding. Simple but really cute. I need to trim a little bit more and I found a couple mistakes, one in particular that needs a simple fix. Other than that I'm really happy with how it came out. 

And Addie seems to like it, too :)
Photobucket

Wednesday, October 19, 2011

my love of fabric

When I started 'officially' sewing 2 years ago, I quickly learned that I would develop a love of pretty fabric just as I had in the scrapbooking world with pretty papers.

There are sooo many choices out there. So many pretty things you can make. So many tutorials, kits, projects...they go on and on. And Pinterest doesn't help with this...it only adds to my 'to do' list!

Last week I went to a quilt show in town. Oh my, the fabric. Let's just say that I have a lot of projects to get done. Good thing I'm heading out to a quilting retreat this weekend! 

Here's some of my pretty finds...
Hopefully I'll have many finished finished creations to share next week!
Photobucket

Tuesday, November 23, 2010

new in the shop!

It's been a while since I've added some new items to my etsy shop. It's not that I haven't been working on things. But the craft show a few weeks ago kept me pretty busy. I do have some goodies left from that along with some new items that I'll be adding next week.

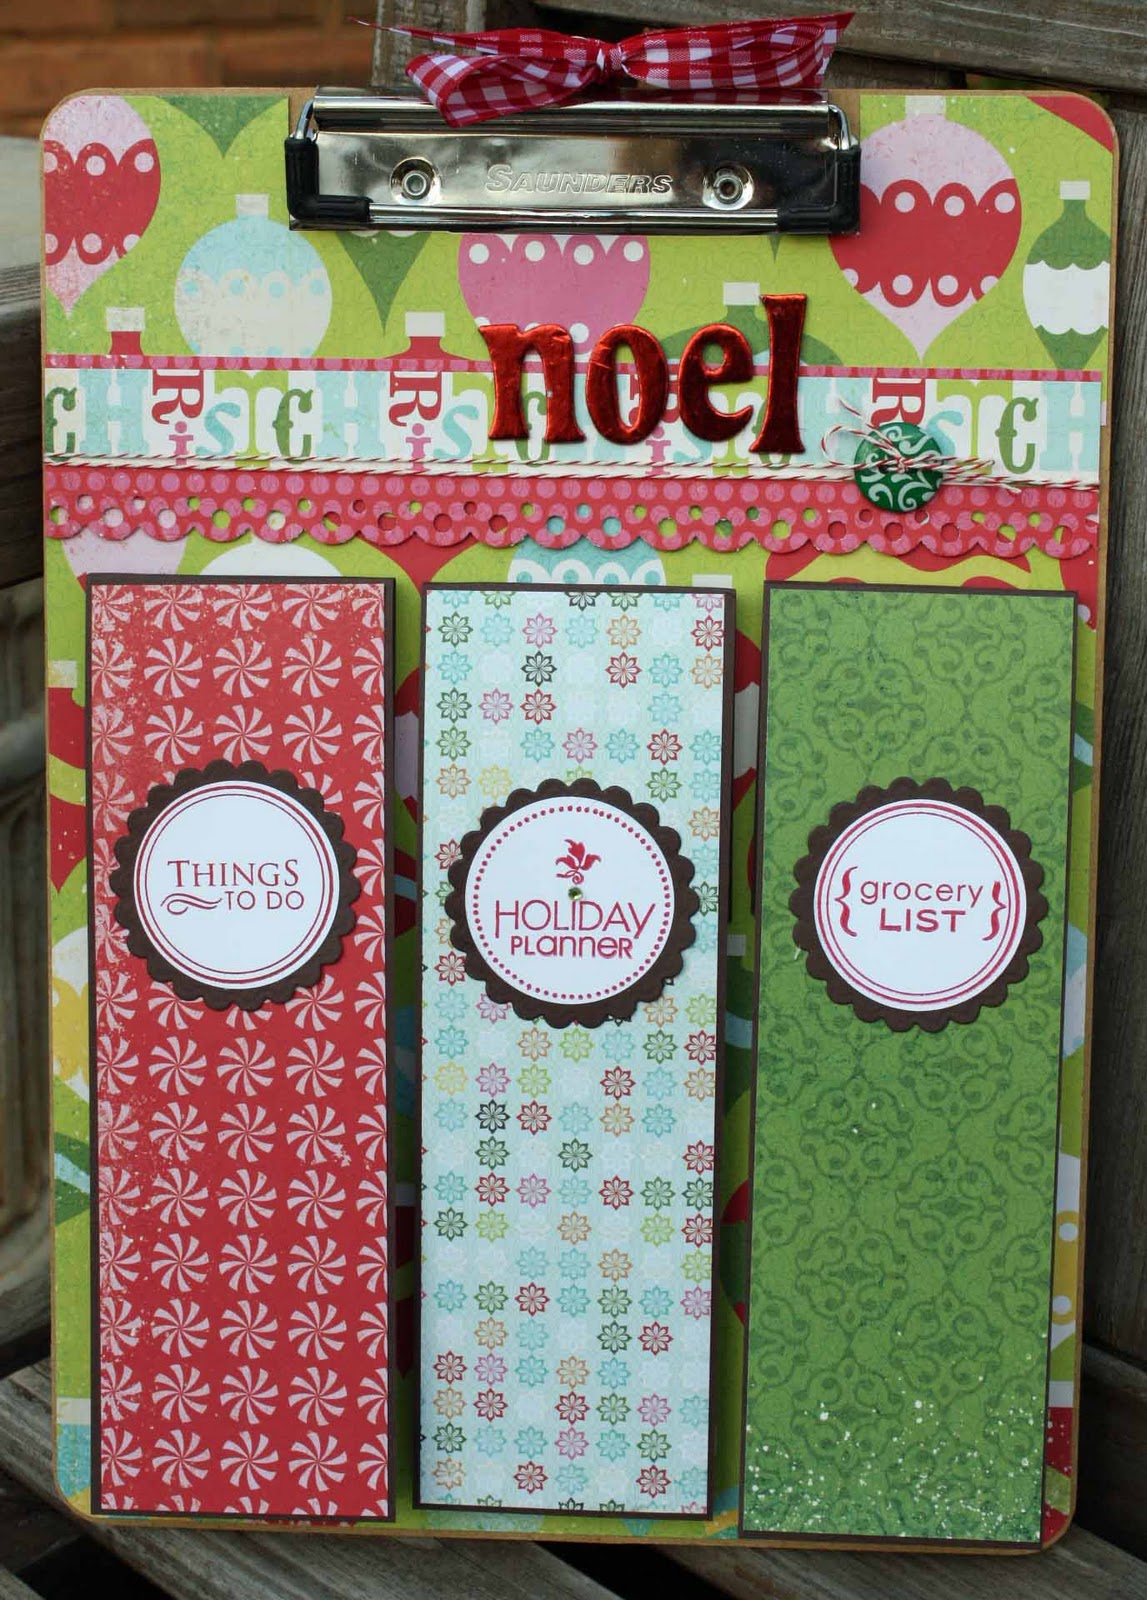
Christmas Clipboards - these are my favorite. I have a non-seasonal one that I have hanging in my kitchen all year. Then I switch it out for a holiday one in November. The notepads are on magnets so you can easily grab one off to jot down things.
I have 3 of these left:
 
 
All of my holiday towels with the exception of these sold out at the craft fair I did. But I'm working on some more and should have them in the shop soon. I added a cute ruffle at the bottom of the towels :)
I also have one of my Christmas 'What-Not' Bags left using this fun fabric which I just *love*
Flower Rosette Notebooks - these are fun little notebooks with a pretty flower added to the front. Great for teachers!
I'm working on a few more holiday items that will be in the shop by next week. Also, I have an awesome sale going on on Black Friday. Be sure to head back here to find out the details!!
Photobucket

Thursday, August 19, 2010

new in the shop!


I've been working on some fun stuff for the shop that I'm really excited to share! I like to dabble in all kinds of craftiness...sewing, scrapbooking, home decor, etc. So when I opened up 24 Olive Street I had intentions on sharing a little bit of all of that.

So here's a few fun things that are new to the shop:
I am in love with these fun little tea towels that I've been working on. This fabric just speaks to me in my favorite color combination. And what better use for that key lime basket than for some cute towels?! There is a listing for the basket with towels along with a separate listing for just the towels. But I only have 2 baskets so once they're gone, they're gone!

I also made this cute quilted purse from those same wonderful fabrics:


This purse is a made to order item ~ meaning, it will be crafted after time of purchase. Wait time is 5-7 days (but usually less than that).

And remember this 2 tier metal stand??
Well I found another one!! So, you guessed it, I gave it a new coat of key lime green paint and it's in the shop!

I may have a small addiction to key lime green paint right now :)

There are many camera straps in fun bright colors

Do you remember this printer's tray summer photo collage I made a couple months back??

Well, I'm so excited that I managed to snag up a few more of these great trays while on my thrifting trips, so I put together a few kits. And each one will be different. I've already sold the large kit but there's still 2 smaller printer's tray kits left.

I love collecting vintage books, cards, etc and I'll be putting together listings for some fun goodies..

If you haven't joined my facebook page, head over here. When we hit 100 people who 'like' the shop I'll be doing a giveaway. Hint - the giveaway won't be anything that's in the shop right now. I'm working on what that will be and I'll post pics soon!
Photobucket

Saturday, July 24, 2010

snack bags for the road

When you take a 15 hour road trip with a 6 & 8 year old you must not only take plenty of things to do with you but also lots of snacks.

Last year I did 'state bags' and gave the kids a different snack bag every time we entered a new state. (Cause we drive through 5 states on our way up to Michigan) That worked out well, the kids thought it was neat (and even began asking for their bags when we'd hit a new state). But they were paper bags and didn't hold up well storing them in the van with all the other stuff we take on a long road trip.

So this year I thought I'd try something different. I put my handy dandy sewing skills to work and came up with these cute little sack bags for their treats.

Nothing fancy. Just used some cute fabric I found in my stash.

So here's how I did it. The beauty of these is you can make them in whatever size you want. I was using fat quarters (that are already cut to 18x21) so I simply cut an 8" strip to make my fabric 8X21.

I first folded the long ends, wrong sides together, and pressed. Then I did the same thing on the short ends.

Now, you can skip folding the long ends. The reason I did that is so that I wouldn't have fraying edges where the opening for the rope is. You could totally skip this part if you don't care. And obviously if you want to make this sack bags a bit nicer, you would either double fold the edges or serge them to keep from fraying. 

Ok, back to the bags. At the short ends, stitch along the top to leave enough room for your rope or ribbon or whatever you're using to hold your bags closed. Then fold your bag, right sides together, & pin the edges that were folded. Put another pin just at the starting point of your casing for your rope. Don't sew that part closed!


Stitch along both sides
Add your rope or ribbon and you're done!! You can have the rope tied on both sides or do what I did and run it all the way around and knot it on one side.

Now, if you're using a fabric that has a directional print, meaning it has an 'up and down', cut the fabric the same size, cut in half and turn the print around, then sew it at the bottom like this:

Remember that you'll lose about an inch of fabric making that seem so if that matters to you be sure and cut the fabric an inch longer. I didn't care, and you can't tell that 2 of the bags are a teensie bit smaller than the others!


Photobucket

Friday, June 25, 2010

simple side table runner


After I did my side table redo I wanted to have some sort of table runner since there was so much white...I needed some color. I've been trying to keep things 'summery' after reading a couple posts on The Nester's site about summerizing your home (see here, here & here). Totally hit home to me because I lean towards greens, reds & black when decorating. And that's fine in the winter but in the spring and summer things need to be lightened up a bit. Never realized how changing out some accessories with summer items can change the whole feel of a room!

So after I finished my table I decided to do a simple runner. Nothing big, nothing fancy. I grabbed my Hunky Dory layer cake that I bought a while back...because I just had to have it for no other reason than the fabric was cute! I lined 3 squares in a row and then picked a solid coordinating color and cut that at 3 1/2" wide to put between the larger squares.

I did 2 of these so that my runner can be double sided.

After sewing both sides I ironed on some fusible fleece to one side.

Then I sewed some large rick rack to both ends on the right side of the fabric (the part facing in is what will show on the outside when I'm done)

Then I sewed both layers together, right sides together, leaving a small area open so that I could turn it right side out


Before turning it right side out, I trimmed the rick rack so that it wouldn't be so bulky on the ends.

After turning it right side out, I sewed all along the edge

And here's the opposite side of the runner. I actually like this side better (told you I like reds & greens!) but I'll wait til it's closer to fall since the colors are a bit less 'summer-ish'.
Oh, and that cute little flower dish my daughter made in art class. Matches my runner perfectly, doesn't it?!

Btw, check out this yummy fabric I just picked up the other day:

Doesn't it scream summer??!! And I have more on the way including some fun Heather Bailey & Sandi Henderson fabrics. I'm whipping up some fun new goodies in my new etsy shop - 24 Olive Street - that will be up in running in just a couple weeks. I just set up a facebook page for all the upates so go check it out. I have linked in my sidebar ---------------------->>>>>>
I'm going to be doing some fun new giveaways very soon!!
Photobucket
Blog Widget by LinkWithin