

***Thank you for all of the sweet words about our dog Schuby. It has meant a lot!***
My daughter has been wanting a bed for her American Girl dolls about as long as she's had them. But at a cost of $80+ that simply wasn't an option. I had planned on getting my

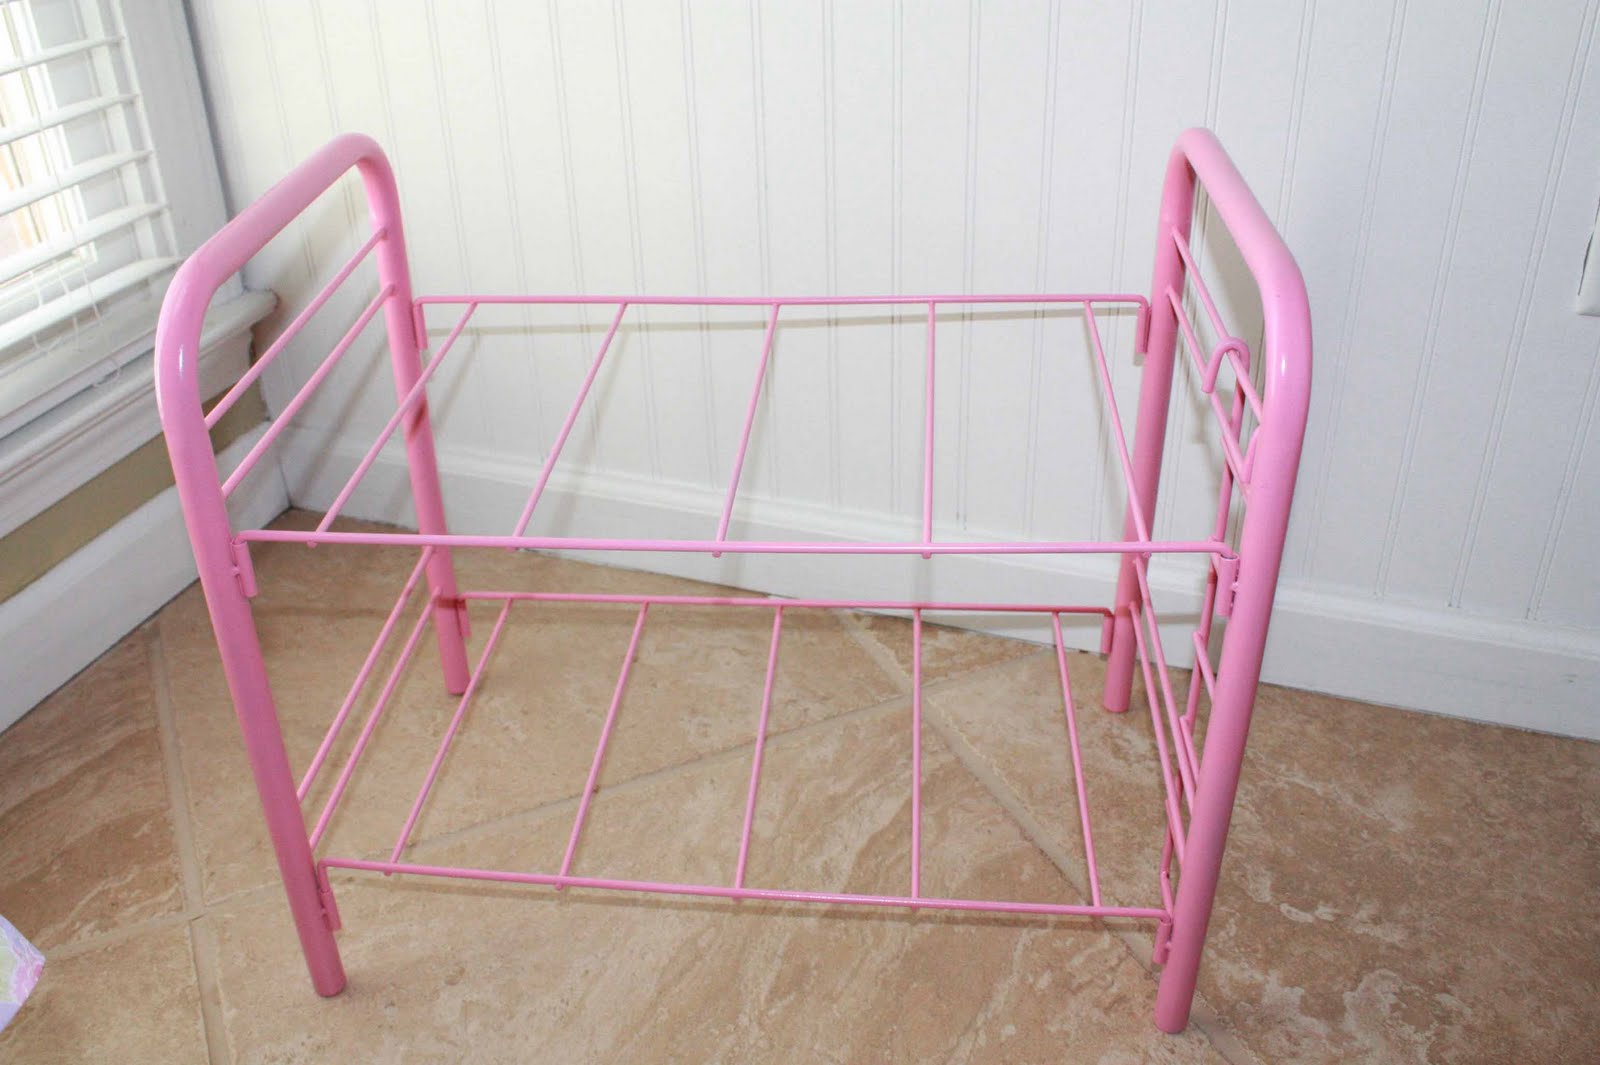
Olivia spotted it and I thought it would be too small for her dolls. Luckily she happened to have one of her dolls with her so we tested it out and it was the perfect size. And it was only 6 or 7 bucks. It's ugly, I know. But there's nothing that a can of spray paint and some fabric can't change, right?! And this is what I did with it:

So here's what I did. First, some pink spray paint:

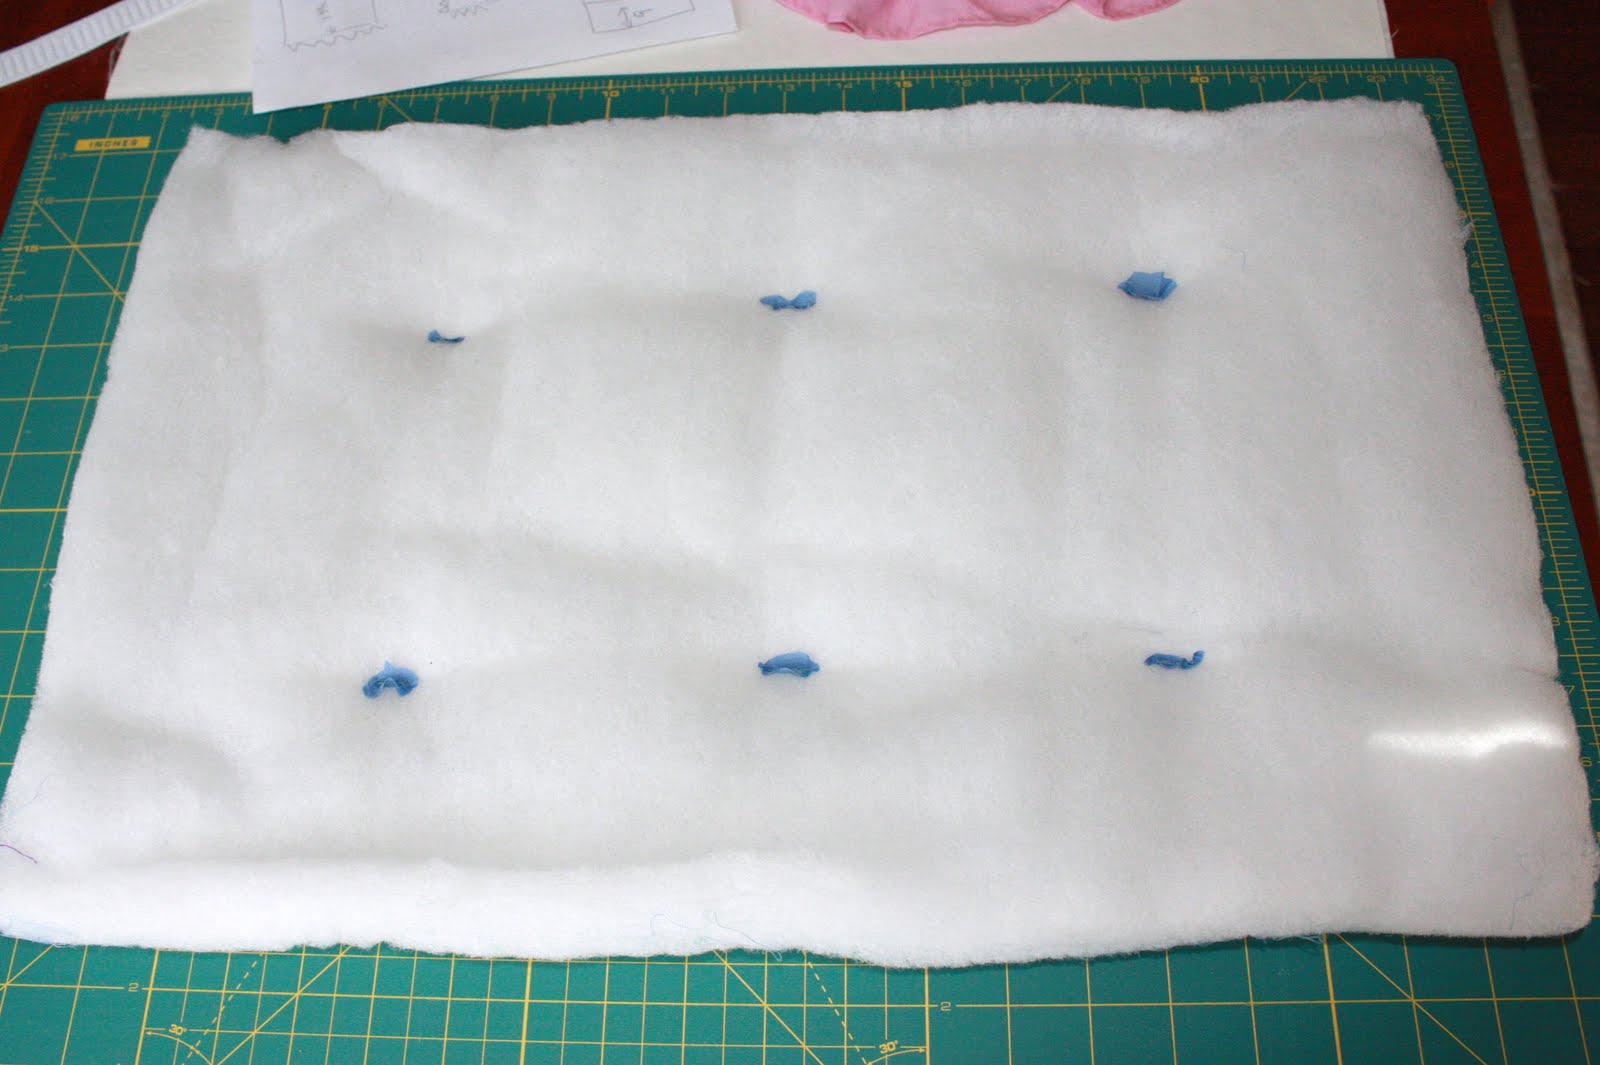
Then, after finding some fabric for the 'mattress' I tackled making new bedding. First I took off the cover so that I could reuse the padding on the inside. No sense throwing that away. Excuse how the 'mattress' looks...when we bought it from the thrift market it was a bit dusty.


Then I measured it out and decided that I'd treat it as a pillow case cover and have an opening in the back that I could slide the cover on and and off in case I needed to wash it. So I needed one piece for the front with 2 pieces for the back that would overlap (like a pillow sham).
To determine the width of the back 2 pieces, you take the width of the front, divide in 1/2, then add 3-4 inches on each side (to make the overlap). Clear as mud?? Like this:

I always try and draw a sketch when I'm trying to figure out measurements to minimize the chance of cutting the wrong size. Notice I said 'minimize' ;)
I also wanted to add a ruffle on the 2 long sides like it had before. So I cut a long strip of fabric 3" wide and made a small hem

Then I got a chance to use my new toy...

I bought a ruffler foot for my sewing machine when I was in Michigan and this thing is awesome! Definitely worth the money. It looks like a crazy contraption, doesn't it?? But I was really surprised at how easy it was to use. And no more pulling at the strings to get ruffles!!

Then I took the one large piece of fabric (that will be the front side) and pinned the ruffle (after hemming the side edges) to it along the 2 long edges, right sides together.

I used a basting stitch to hold the ruffle on it before sewing the next layer. I took the 2 smaller pieces of fabric and pinned & sewed those to the front layer, right sides together. You could skip the basting step and pin all 3 layers together & sew if you want. I just find that it's easier to get the ruffle/trim in place before adding another layer.

The 2 pieces on the back will overlap each other. I also added a small hem to the one long side of each of those pieces before sewing it all together. Then I sewed around all 4 sides, making sure to only sew the ruffle on the long sides (and not sew it into the shorter sides) because trust me, it won't look right if you do. And then you end up with this:


I also made a blanket & pillow for the beds. For the blanket I basically cut 2 pieces of fabric the same size as the 'mattress', adding about 2 extra inches for the width. I pinned them right sides together and sewed all the way around leaving about a 5" opening to turn right side out.

Then I sewed a very small stitch (about 1/8") around all 4 sides.


Now, I also made a matching pillow but I wasn't totally happy with how it turned out (and plan on redoing it) so I'm not going to show too many pics of that! But I will show you some of it. I cut rectangular pieces (2 for each pillow)

Then I made another ruffle (this one a bit more 'ruffly') and pinned it all the way around one piece of material, right sides together.

Then I sewed a basting stitch on all 4 sides to hold it together, then placed the other piece of fabric, right sides together, and sewed all the way around leaving a small opening to turn right side out. Then my small helper helped fill the pillow with polyfill and I closed up the opening.


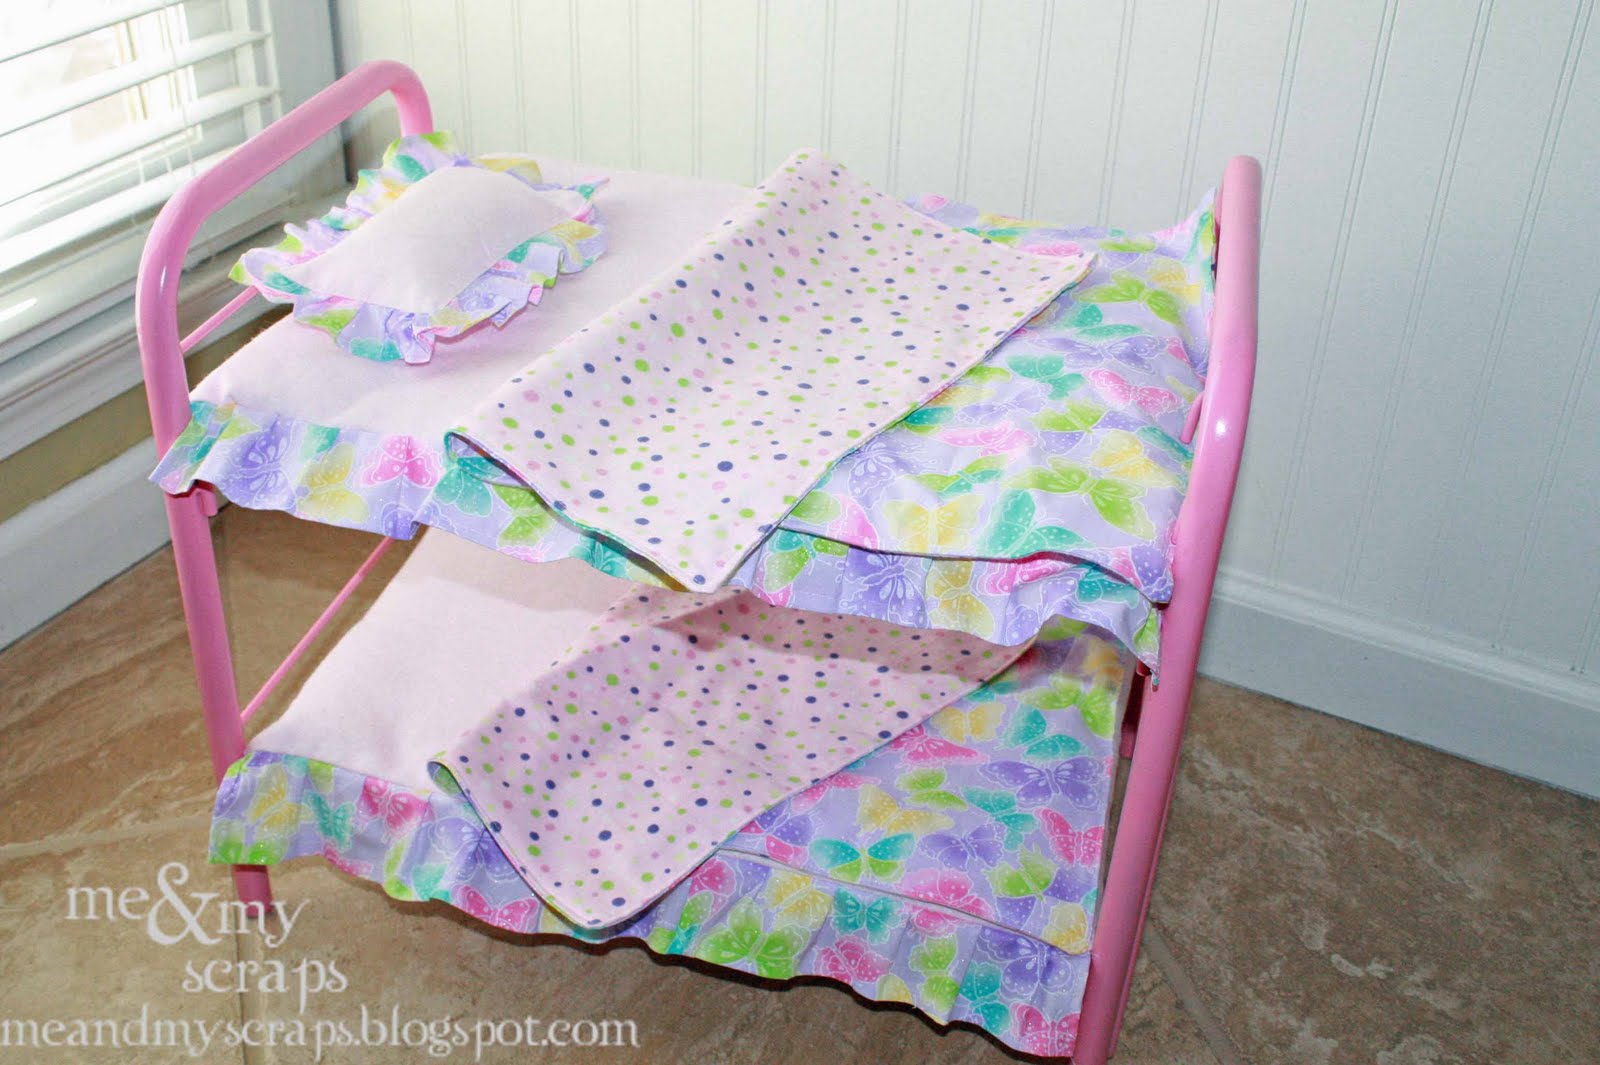
So there it is!! My daughter was so excited to have her new bed for her dolls...and that makes it so worth it :)

I think Lanie & Elizabeth are enjoying their new bed, don't you??


I'll be linking up to these parties:


8 comments:
what a great thrifty score!! super cute makeover!
I absolutely love it! How precious!!! Your daughter is one lucky girl to have such a crafty Mommy, and I think it's so much better than going out and buying some overpriced version. The fact that it's handmade is even better-I remember the things my mother made with so much nostalgia now. :)
Super cute! Makes me wish I kept Aislinn's doll's cradle. And since I can't sew, it IS clear as mud!!
It's so cute!
Great job!
Good find and great job on fixing it up.
What an awesome makeover. I know she will cherish it. Great detailed directions for non sewers or beginners. You find the best stuff, I'm jealous.....
What a great find and makeover!
Good job thrifty mom! I love when you find "just the thing," and putting your personal twist on it makes it extra special for your daughter. I don't remember ever seeing a metal bunk bed like this for dolls before. I think it's pretty cute. Anything on it to give a clue who it's made by:?
Post a Comment