Showing posts with label gardening. Show all posts

Sunday, June 27, 2010

attack of the tomato killer


Last week I noticed that something has been eating my tomatoes in my garden. Not only eating the tomatoes but also eating the tips of the branches and all but killing my plants.

This is the 3rd summer that I've had tomato plants and they're usually the one thing I don't have a problem growing. What I have discovered in growing a garden in southern Georgia is that once the severe heat hits in June a lot of my stuff dies off. And what sticks around are my tomatoes and herbs. I really need to head over to Callaway Gardens and see if they can give me some tips on gardening in 95+ degree weather! 

But back to my 'maters...I found the culprit the other day:

This is who has been decimating my tomato plants ~ tomato horn worms. I don't know how many are in there but I only found one. He has been relocated to another part of my property. Although, after reading a little bit about them, that probably was not a good idea. Cause once it turns into a moth it'll probably just turn right around and lay more eggs on my tomatoes. 
I did not spend all of that time and energy getting my garden all nice just to have some stinkin' worms wreck it all. And so the battle of my garden begins!

Photobucket

Sunday, May 16, 2010

appreciate your teachers

It's coming to that time of year again ~ the end of the school year. At least in our neck of the woods anyway. We have one more week of school left. Thank God!!! And so I've been thinking about year end teacher gifts. Not just for the kids' teachers but also for coaches & Sunday School teachers.

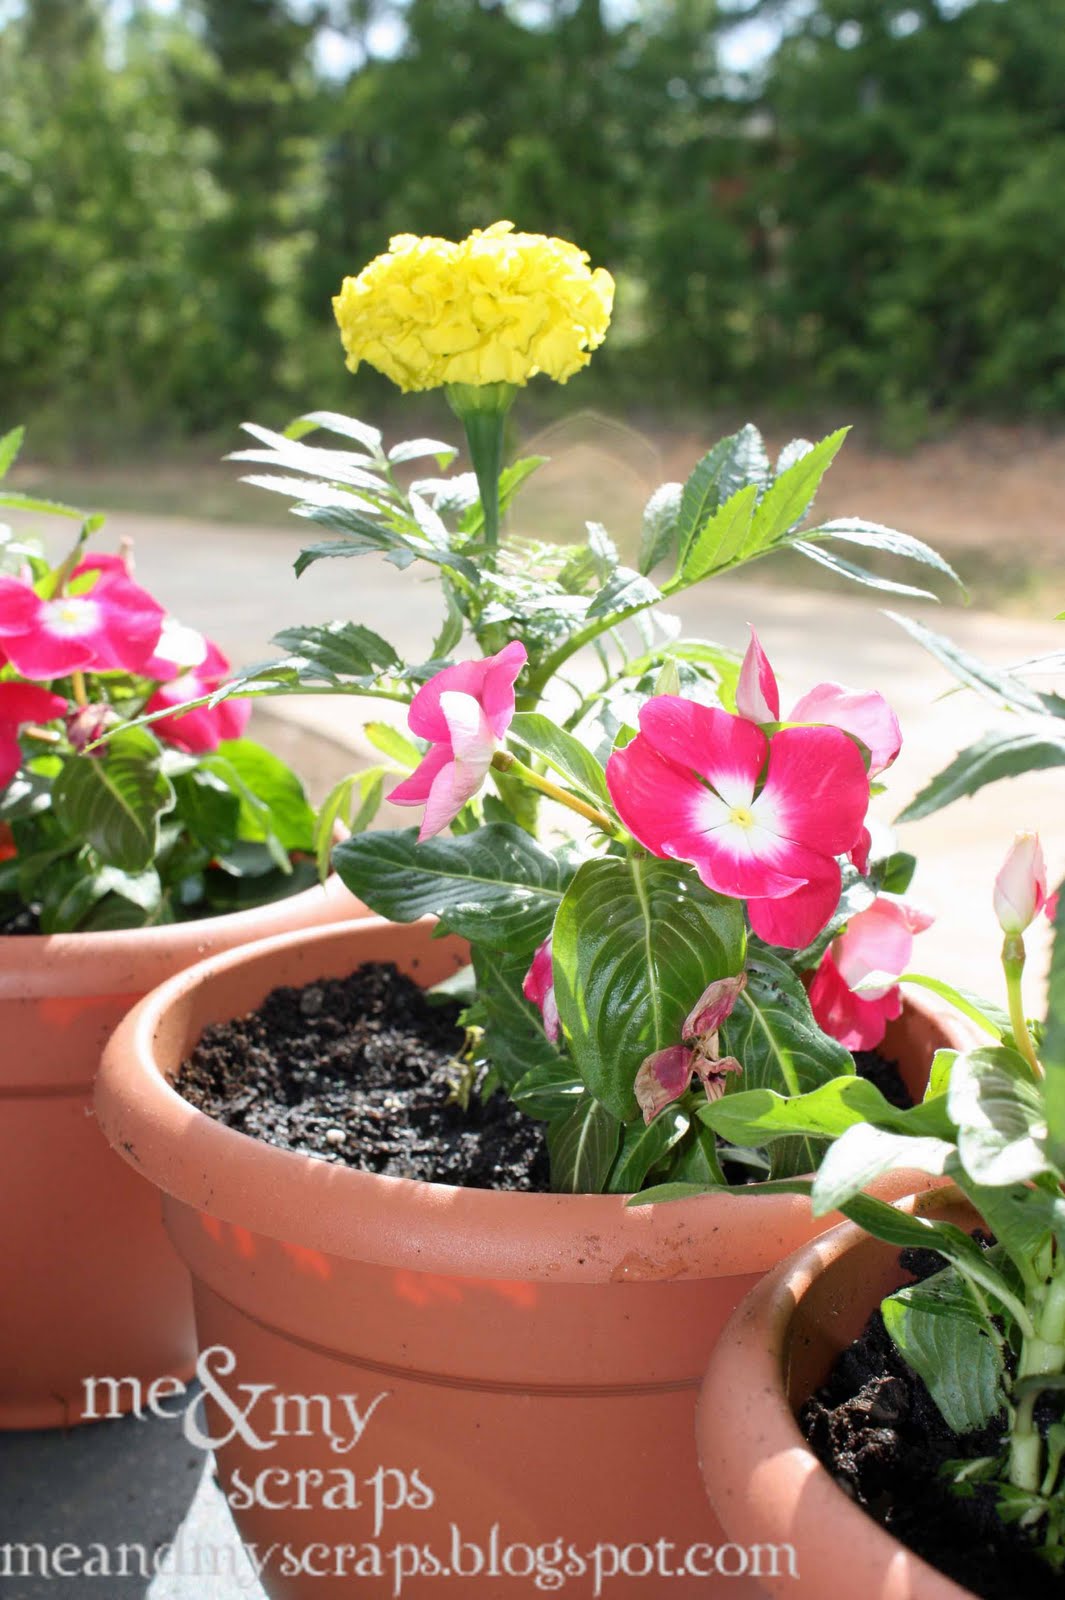
Normally I would give something handmade but I'm running out of time. So I took a trip to Lowes and bought some pretty flowers and inexpensive pots and came up with these:
Nothing fancy, just a little thank you for my kids' school teachers & Sunday School teachers. I mixed a couple different flowers together in the pots to make them pretty :)
It didn't cost me much, about $3.00 per pot. Since I had to do 8 of them I needed to keep the cost low. But I've said it before, you don't have to spend a ton of money to give a great gift from the heart.

So be sure to appreciate your teachers and coaches this year (as I'm sure all of you will!) They not only give of their spare time but in a lot of cases money out of their own pockets to do things for our children. This was my first year as a Sunday School teacher and I can tell you that they are forgotten by most. It doesn't take much. A card, a flower, a simple "thank you for teaching my child". I think coaches get forgotten in this mix, too. 

But everyone likes to be appreciated and not taken for granted. Which is why I always give a little something at least at Christmas and the end of the year for all those that help out with my kids whether it be in school or extracurricular activities.

Photobucket

Tuesday, May 11, 2010

feels like a new yard

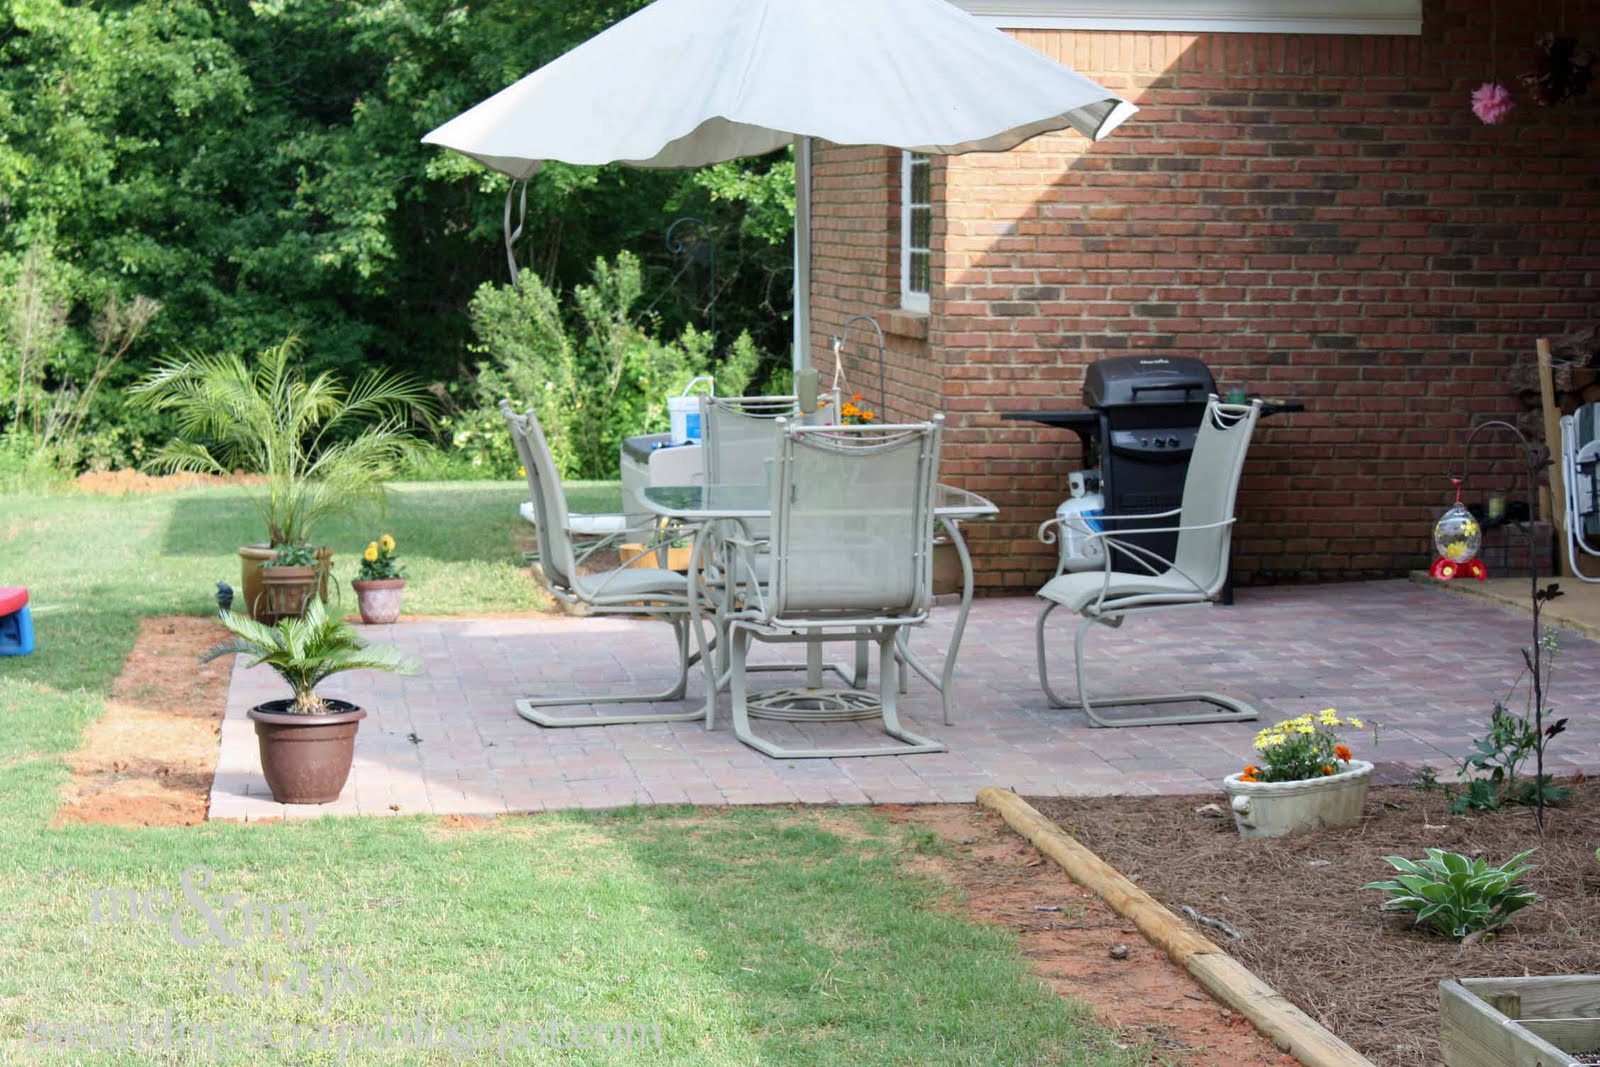
I am really enjoying our "new" yard. Amazing what some new sod, new flowers and, oh, about 1300 patio pavers can do for your yard :)
I still have to fill in those red spots with grass seed but I can't tell you how nice it is to have actual grass for my kids to play on. And they looove having the grass under their feet when they swing on the swings. So much better than hard clay!
I've added a few flower pots around. 
That cute little bicycle I found at Tuesday morning. Of course, the flower in the pot isn't blooming at the moment for my pics. Oh well. And I found this pot at Hobby Lobby for 1/2 off:
My favorite kind of pot are the wooden ones. Found this cutie at Target:
I normally don't spend much on pots but I really wanted this one. Somehow my other dahlia in that pot got snapped in half at Olivia's first communion party but it's growing back, slowly but surely!

And then, of course, I scrapped about my new yard :)
Used more of the Noel Mignon Playdate kit. 
I had a lot of photos and journaling so I grabbed some shipping tags I had and tucked them under the photos. I added the flowers to the top of the tags to keep them from sinking into the back of the photo collage.
Case in point for making mistakes on your pages ~ when I make a mistake I do not redo the page. I go with it and make it work. When I used to teach classes I would have a few people that would want their pages perfect. And they would redo the same thing over and over and over until it was just right. And if that's how you scrap, more power to ya. But I'm not perfect and I don't have time to try.  And to be honest, I kinda like the messy look!

You may notice a journaling goof up I did on the Olivia page in the last post. If not, I'm not going to tell you where it is! hehe Anyway, I forgot I wanted to make the photo collage a pocket and put adhesive along the top. So I simply took a leftover strip of patterned paper and put it across my line of adhesive so it wouldn't stick to the page. No one's gonna see it, right? Problem solved!

I'm off to play with some new fabric that just came in the mail :)
Photobucket

Tuesday, April 27, 2010

around the garden

I have been so tired this past week getting ready for our party & guests this weekend. I've been staying up late every night and still managing to get up and get the kids to school and hit the gym at least 3-4 times a week. But a part of me will be glad when this week is over! Cause I need some sleep :) But thankfully I'm just about done with her dress. Just a few little things left. It turned out really cute, I'm SO excited!!


I don't have much scrappy stuff to share this week. Although I did find a layout that I did several months back that I don't think I ever shared. So I'll share that one in a separate post. I also did a couple layouts on Sunday for Sweet Memories but you'll have to wait to see those ;)


So I thought I'd share a few pics from around my garden. Some of the bulbs we planted are starting to sprout and I always love seeing that!! But first, check out these adorable little flower sprinklers I picked up at Tuesday Morning:

Aren't they cute?! And at 4 bucks each you can't beat it. I kept the tags on them to make sure they worked and they seem to get all of the flower beds...and they look pretty :) My kids thought they were pretty neat! I think I'm gonna run back there and get 2 more for the front yard. They had a green one, too.


And I'm super happy about my clematis this year
I planted it 2 years ago. The first year I maybe got one flower on it. Last year a couple more. And now this year a ton of flowers! 
Actually, there's about twice as many flowers on it now then when I took that picture. Love, love, love it!


And like I said earlier, some of the bulbs are starting to grow...


I love when they start to peek through the ground! Although, half of my gladiolus bulbs haven't surfaced yet so either they got planted deeper or upside down. Let's hope they're not upside down!


And there's flowers on my strawberry plants. You know what that means...soon there will be strawberries!! 
Too bad it wasn't in time for the party this weekend. I'm making chocolate covered strawberries.


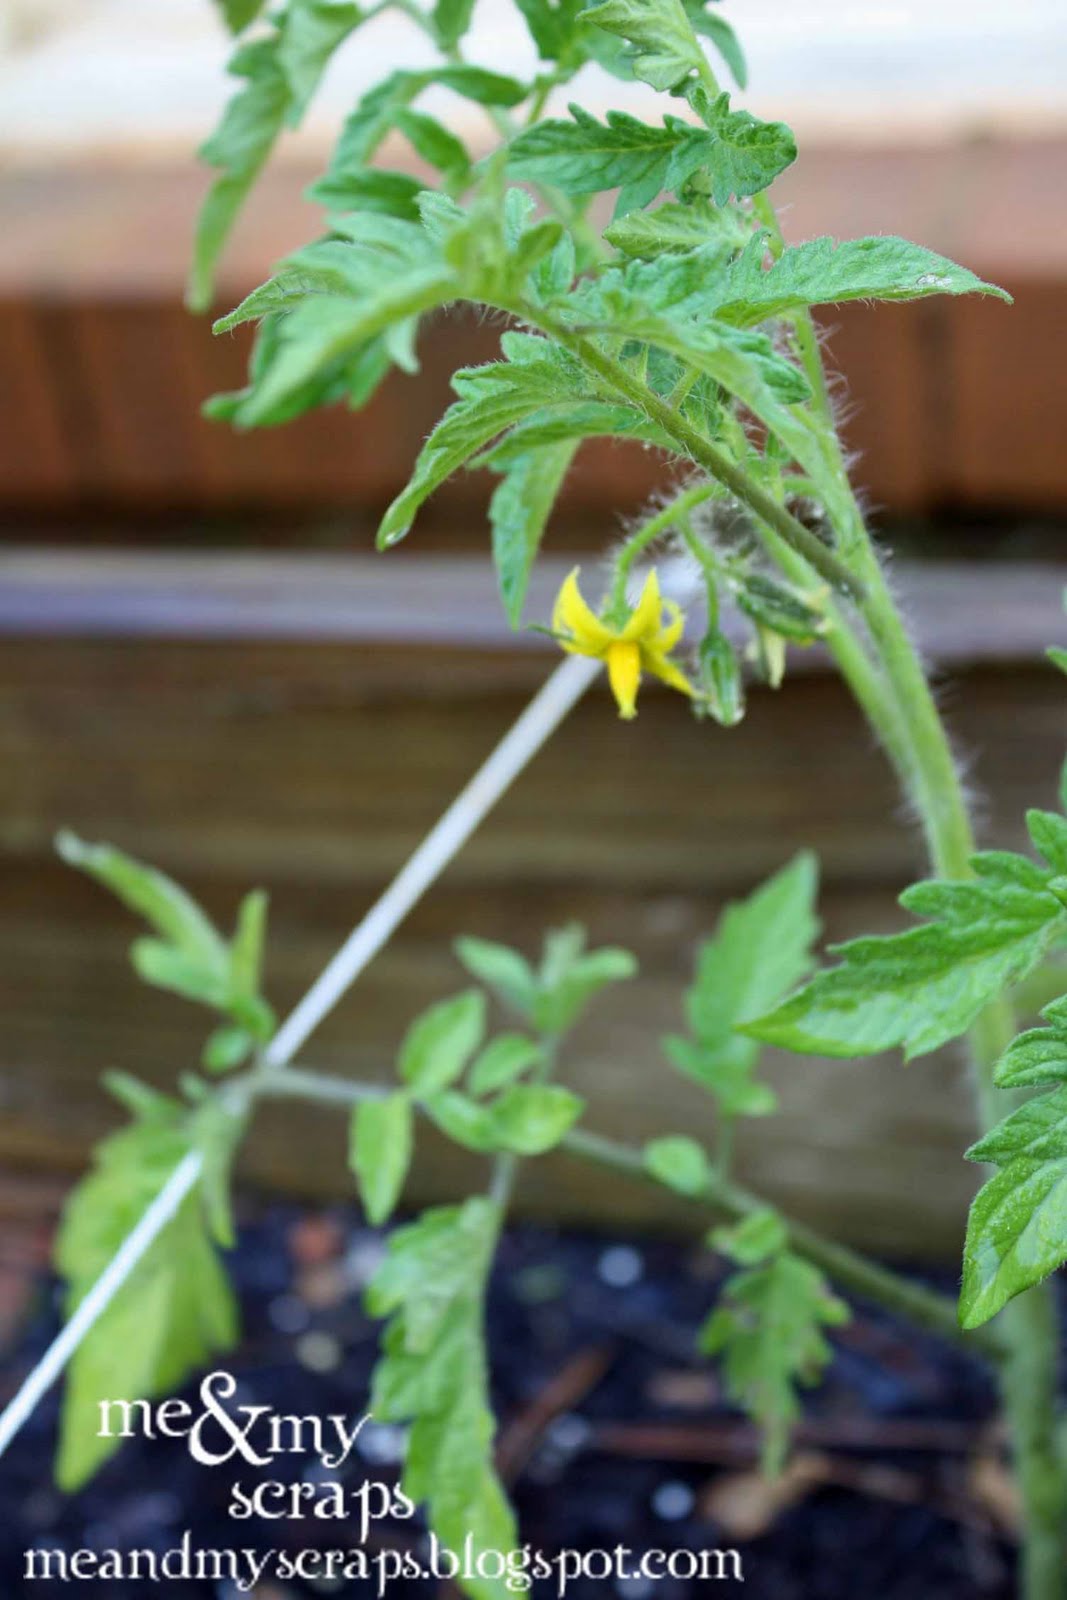
The tomato plants are getting flowers, too.
I can't wait to see everything in full bloom!!
Photobucket

Saturday, April 10, 2010

my garden journal

It's a beautiful day in the neighborhood! The sun is shining and the kids and I got back a bit ago from checking out the flea market. We hadn't been in quite a while. We did manage to find some treasures but I'll share that in a separate post. Today I thought I'd share my garden journal. It's simple but cute :)
I found some canvas-like material...I love how the edges are all frayed :) Not sure exactly what it's called, it reminds me of thick muslin. I found it near the decorator fabrics in Joanns, where they sell those uber-thick materials for outdoors. To make the title I simply used some Making Memories green paint with some foam stamps that I've had sitting around for just this sort of project. Glad I didn't get rid of them with the last scrap room cleanout! 
That title reminds me of those Heidi Swapp stamps that were really popular a couple years ago, doesn't it?? Anyway, I cut some flowers out of scrap pieces of fabric with my Sizzix, then loosly stitched around them and added some buttons. I put a piece of cardboard in between 2 layers just to give it some support, then I stitched a wavy line around the outside. I first did it in white but then realized it would look better in a darker color so I went with brown. Inside I added some goodies from Noel Mignon's last kit "Sonoma County". Great kit if you love greens, browns & yellows (which I do!)
I've seen garden journals divided up into seasons but I kept mine more basic. There's 2 sections ~ 1 for the backyard and 1 for the front. I'm also going to add a 3rd for inspiration photos & things I'd like to do in the future. Cause as well all know, gardening is always a work in progress!

So here's the inside.
I found this scrap of corrugated cardboard and thought it'd be cute in the front. I'm planning on adding a cute quote there, just haven't found the one I want yet.
On the inside of the "backyard" page I added one of those cute Maya Road envelopes for seed packets.
And here's a couple of my pages just to give you an idea of what's in there. 
I added graph paper for drawing layouts of my gardens & lined paper for notes. Because the book is held together with 2 rings I can easily change out pages & add things.

I also made sure that the book was large enough to add some of the packaging from my flowers. That way if I ever need to refer back to what something is, when it blooms, etc I have it right there.
And that's it!

Photobucket

Thursday, April 8, 2010

square foot gardening & LOTS of photos!

Warning ~ if you don't like gardening or looking at pretty flower pics, turn away! This is one picture heavy post! hehe
 
It rained today! Yippee!!! My eyes feel sooo much better. But it won't last for long. Despite the fact that the rain washes away some of the pollen, it also causes things to grow which, in turn, cause more pollen! But, like every year, I know it will be better by next month.

I thought I'd share a few pics of my planter boxes using the "square foot gardening" technique.

Disclaimer ~ I am no garden expert or pro by any stretch of the imagination. I simply took the idea and ran with it in my own way!

Ok, moving on! I already had 2 boxes from last year that I had my hubby build for me. They measure approx 5'x5' and they were made out of (I believe) 2x8 lumber. I had him build a 3rd one for me this year. I filled 1/2 with regular dirt (clay) and the rest with good dirt. My goal is to add more and more good dirt each year.
I used some rope and nails I found in the garage and marked off 1 foot sections on 2 sides of each planter box. Then I simply wrapped the rope/twine around the nails and I was hammering them in. 
I only measured on 2 sides of the boxes and eyeballed it when stretching the rope across. Not going for perfection here people!
In each 1 foot section there are different plants. However, in some spots I filled the squares with the same things. Like with those red onions above, I planted them all the way across all 5 squares. And in my other box I planted cilantro, parsley, oregano, & rosemary in either 2 squares next to each other or left the square next to it empty to leave room for it to spread.

From what I've read, the idea is that once you harvest a plant from that 1 foot section you replace it with something else. Of course, some of mine will stay there all season like the herbs & tomatoes & flowers. I added some flowers in some of the squares for some color & visual interest.

I have to say I really like the look of the squares and it seems like it will be easier to maintain than 1 huge box. We'll see. I'll share pics in a couple months when everything starts filling in. See, here's some little cauliflower sprouts coming up!
Check out these cute little stones I found at Joanns:
I wish they had all the spices but all I could find was oregano, parsley & rosemary. 
I mentioned before that we rented a rototiller and I had my hubby till up all the dirt under and around those planter boxes so that I could plant some bulbs (something that is near impossible to do otherwise with this red clay).

I have bulbs planted in and around the boxes (except for in between the 2 boxes).
I have some green gladiolus bulbs planted all along the back of those boxes along the house. Won't they look pretty when you look out that window and see them? I think so :) I also planted some liatris, lily of the valley, and ranunculus bulbs. Although, I'm not sure if all the liatris tubers will come up. They were really hard to figure out which way to plant! Of course, my mom told me after I had them all planted to plant them sideways. So we'll see!!

As you can see we haven't finished the edging, just some landscape timbers we bought last year. I need a couple more to finish it off. And you can see the third planter box that I haven't finished yet.
In front of the pampas grass I have some daylily bulbs planted. There's also 2 strawberry plants.
My plan is to just let them trail around wherever they want. And along that little section of brick I want to put a trellis (what what I'm not sure yet)

To the right is a little flower pot. Check out this cute little birdie I found at Joanns!
Isn't she cute?? And remember those painted bricks my kids made? Yes, I put those to use in my garden as well :)
Once we get into the full swing of 90+ degree heat summer I don't think those flowers will last. But they look cute for now! And it just dawned on me that they used washable paints so those bricks probably won't stay painted for long. Oh well...

And here's one of my favorite flowers in my garden so far:
Love it! I'm hoping to share my garden journal tomorrow.
Rainy day = bad lighting for photos! I hope I've inspired you to get out in your yard and start planting!!
Photobucket
Blog Widget by LinkWithin